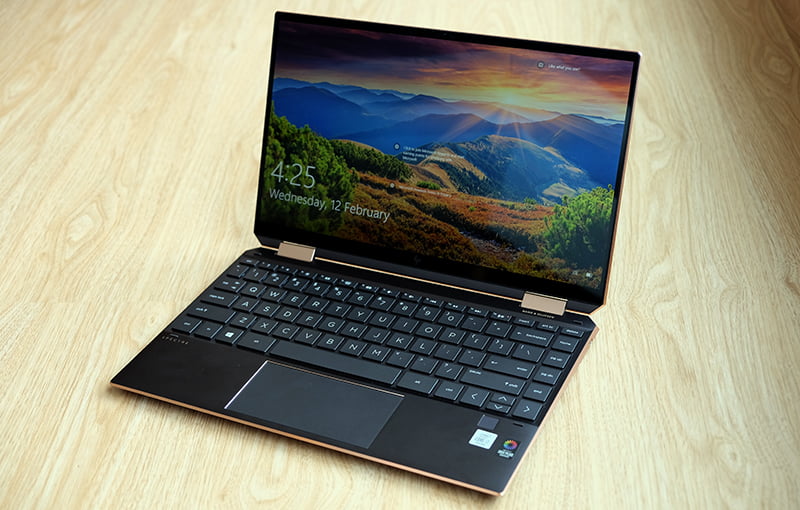
Taking a screenshot on an HP laptop is very simple and after reading this article you will know to take a screenshot on HP laptop in 4easy ways
Below I have listed 4 ways on How to take a screenshot on HP laptop/computer
Contents
First method: Full-screen screenshot
In this method, you will be able to take the screenshot of the entire screen of your HP laptop
Step 1: Look in the top right of your keyboard you will find PrtScr key ( As soon as you press the key a screenshot is taken. For example, you took a screenshot while reading this article if you press PrtScr. If you want to take a screenshot of the home screen go to the home screen and then press PrtScr.)
Step 2: Open paint on your HP laptop (Any other image editing app will do) and past. You will see the screenshot appear on Paint.
Step 3: Edit the screenshot or keep it as it and save it
Second method: Full-screen screenshot (direct save)
You can use this method if you are only running windows 8 and windows 10 on your HP laptop
Step 1: Windows log and PrtScr simultaneously (You will get a notification the screenshot has been taken and saved on your HP laptop/ computer)
Step 2: Go to C drive > User > Picture > Screenshots (You can also search for the screenshots folder on the taskbar)
Third method: Full-screen screenshot (Active Window)
Step 1: Press Alt Key and PrtScr key simultaneously ( pressing these to keys captures the screenshot of the entire screen of your HP laptop and save it in the clipboard
Step 2: Paste the screenshot on an image editor on your HP laptop/ Computer (You can use applications like paint, photoshop, coral draw, etc)
Step 3: Save the screenshot on your HP laptop
By now you would be a professional in taking screenshots on your HP laptop. I have listed one more method to on How to take a screenshot on HP laptop/computer
Fourth method: Custom Screenshot
Taking a custom screenshot is quite tricky but I have listed the step by step process below so that you don’t get confused.
Step 1: Click the Start button ( located on the extreme left-hand side of your taskbar or bottom left corner of your screen) and search for the Snipping Tool
Step 2: Open Snipping Tool and click on new
Step 3: Click and drag the mouse on the area you want to take the screenshot
Step 4: Save the custom screenshot ( With this method you can take a screenshot of a particular area on the screen of your HP laptop also know as a custom screenshot)
These are the 4 simple ways on How to take a screenshot on HP laptop/computer. If you are facing any issues then comment below and our team will be happy to guide you with the process.


